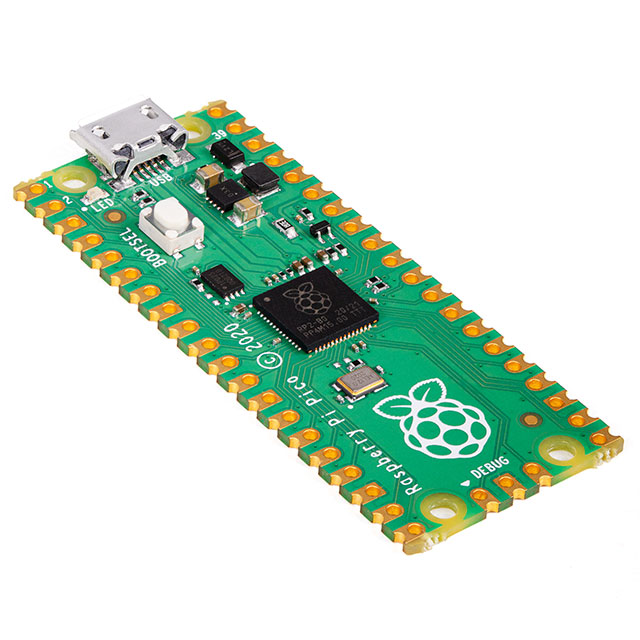
Mfr Part # SC0915
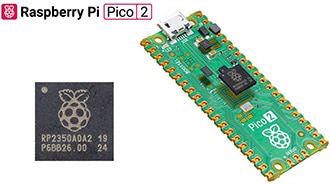
RASPBERRY PI PICO RP2040
Raspberry Pi
License: General Public License Breadboards Jumper Wires Arduino
Accurate timekeeping is a cornerstone of many embedded applications—whether it’s logging sensor data with timestamps, scheduling events, or powering automation systems. In this guide, you’ll learn how to interface a real-time clock with a Raspberry Pi Pico microcontroller using the I²C protocol and display time, date, and temperature on a 16×2 I²C LCD.
This project is ideal for makers, hobbyists, and engineers who want to add reliable timing capabilities to their Raspberry Pi Pico designs.
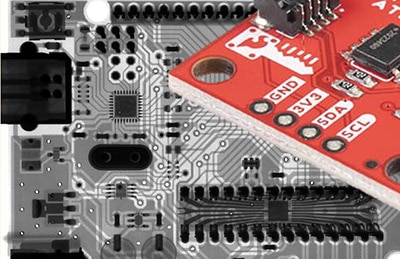
Standard RTC modules often drift over time due to temperature variations, making them unsuitable for precise timing applications. The DS3231, however, integrates a temperature-compensated crystal oscillator (TCXO) that continuously adjusts for temperature changes, delivering industry-grade accuracy and stability across environments.
High Accuracy: ±2 ppm timekeeping with temperature compensation.
Battery Backup: Maintains accurate time during power loss via a CR2032 battery.
Low Power: Well-suited for battery-powered projects.
Integrated Sensors: Reads ambient temperature for display or control logic.
I²C (Inter-Integrated Circuit) is a two-wire bus (SDA and SCL) that enables the Pico to communicate with multiple peripherals using unique device addresses—0x68 for the DS3231 and usually 0x27 or 0x3F for the I²C LCD backpack. This simplifies wiring and expands system flexibility.
The DS3231 tracks time down to seconds and up to years, including leap year correction. It also provides a programmable square wave output and two alarms that can trigger GPIO events on the Pico.
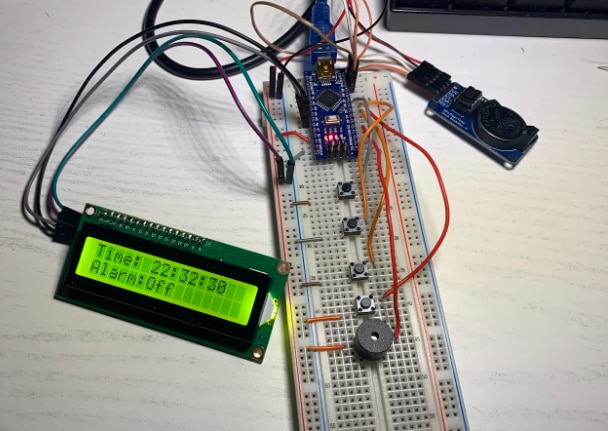
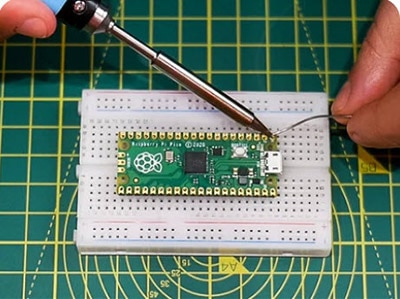
Connect the DS3231 and LCD to the Raspberry Pi Pico:
3.3 V → VCC on all modules
GND → Ground common
GP4 (SDA) → SDA on RTC and LCD
GP5 (SCL) → SCL on RTC and LCD
This setup uses a shared I²C bus for both the RTC and display, reducing GPIO usage and wiring complexity.
For Arduino IDE programming:
RTClib – to access DS3231 functions
LiquidCrystal_I2C – to drive the 16×2 display
These libraries handle I²C communication, date/time handling, and screen formatting.
There are two common methods to set the RTC time on first use:
Auto-sync from computer on upload – Saves the current compile time to the RTC.
Manual date/time setting – Useful for scheduled demos or across multiple devices.
The example firmware initializes I²C, checks the RTC presence, and continually reads time and temperature for display:
#include <Wire.h>
#include "RTClib.h"
#include <LiquidCrystal_I2C.h>
#define DS3231_ADDR 0x68
#define LCD_ADDR 0x27

RTC_DS3231 rtc;
LiquidCrystal_I2C lcd(LCD_ADDR, 20, 4);

void setup() {
  Wire.begin();
  lcd.init();
  lcd.backlight();

  if (!rtc.begin()) {
    lcd.print("RTC NOT FOUND");
    while(true);
  }

  if (rtc.lostPower()) {
    rtc.adjust(DateTime(F(__DATE__), F(__TIME__)));
  }
}

void loop() {
  DateTime now = rtc.now();
  float temp = rtc.getTemperature();

  lcd.setCursor(0, 0);
  lcd.print("Time: ");
  lcd.print(now.hour());
  lcd.print(":");
  lcd.print(now.minute());
  lcd.print(":");
  lcd.print(now.second());

  lcd.setCursor(0, 1);
  lcd.print("Temp: ");
  lcd.print(temp);
  lcd.print(" C");

  delay(1000);
}
This code continuously updates the LCD without blocking main execution, keeping the UI responsive.
RTC Not Found: Check I²C wiring and module power.
Incorrect Time After Reset: Ensure backup battery is installed and oriented correctly.
LCD Issues: Confirm correct I²C address (scan with I²C scanner tool) and contrast settings.
Once you master basic integration, consider these enhancements:
Power-uptime scheduler using RTC alarms.
Temperature-logging data logger with SD card.
Automated timed actions like pet feeders or alarms.
Integrating the DS3231 RTC module with the Raspberry Pi Pico empowers your projects with accurate timekeeping and scheduling functionality. From simple clocks to event-driven automation systems, this guide helps you build a robust foundation and expand into intelligent embedded designs.